Can’t make it to a real drive-in? You can build a solid backyard movie setup for a few hundred dollars. It won’t be a 60-foot screen, but on a warm night with the right equipment, it gets surprisingly close to the real thing.
What You Need
The core setup is three things: a projector, a screen (or a white wall), and a speaker. Everything else is optional but nice.
The Projector
You don’t need a home theater projector. For outdoor use, look for:
- At least 5,000 lumens if you’re starting before full dark. Less than that and the image will look washed out in twilight. If you wait until it’s completely dark, 3,000 lumens works fine.
- 1080p native resolution minimum. Avoid projectors that say “supports 1080p” but have a native resolution of 720p or lower.
- HDMI input for connecting a laptop or streaming stick.
Popular options in the $150 to $300 range include models from XGIMI, BenQ, and Anker Nebula. The higher you go in price, the brighter and sharper the image.
The Screen
You have a few options:
- Inflatable screen. The easiest setup. They come in sizes from 12 to 20 feet, inflate with an included fan, and fold up into a bag. Expect to spend $80 to $200.
- Tripod screen. A pull-up screen on a stand, similar to a conference room projector screen. More stable in wind than an inflatable. $60 to $150.
- A white wall or sheet. Free. A flat white garage door or a sheet hung taut between two poles works in a pinch. The image quality won’t match a proper screen, but it’s good enough for a casual night.
Sound
This is where most backyard setups fall short. The projector’s built-in speaker is almost always too quiet for outdoor use.
- Bluetooth speaker. A JBL Flip or similar outdoor speaker is loud enough for a small group and connects wirelessly to most projectors. Place it near where people are sitting, not next to the projector.
- Portable PA speaker. If you’re hosting a bigger group (15+ people), a small PA speaker with a 3.5mm input will fill a yard. Overkill for a small gathering, but it handles wind and open-air sound loss.
- Car speaker hack. If you have a laptop or phone connected to the projector, run a separate audio cable to a Bluetooth transmitter and broadcast to a Bluetooth speaker. Or use a long aux cable.
Streaming and Content
The easiest method: plug a Roku, Fire Stick, or Chromecast into the projector’s HDMI port and stream from your existing accounts. Make sure your WiFi reaches your backyard. If it doesn’t, use your phone as a hotspot or download the movie beforehand.
Alternatively, connect a laptop with an HDMI cable and play the movie directly.
Seating
This is the fun part:
- Lawn chairs and blankets for the classic outdoor movie feel
- An air mattress or sleeping bags for kids who will probably fall asleep
- Camp chairs with cupholders for the adults
- Pillows everywhere
Setting the Scene
A few things that make it feel like an event rather than just watching TV outside:
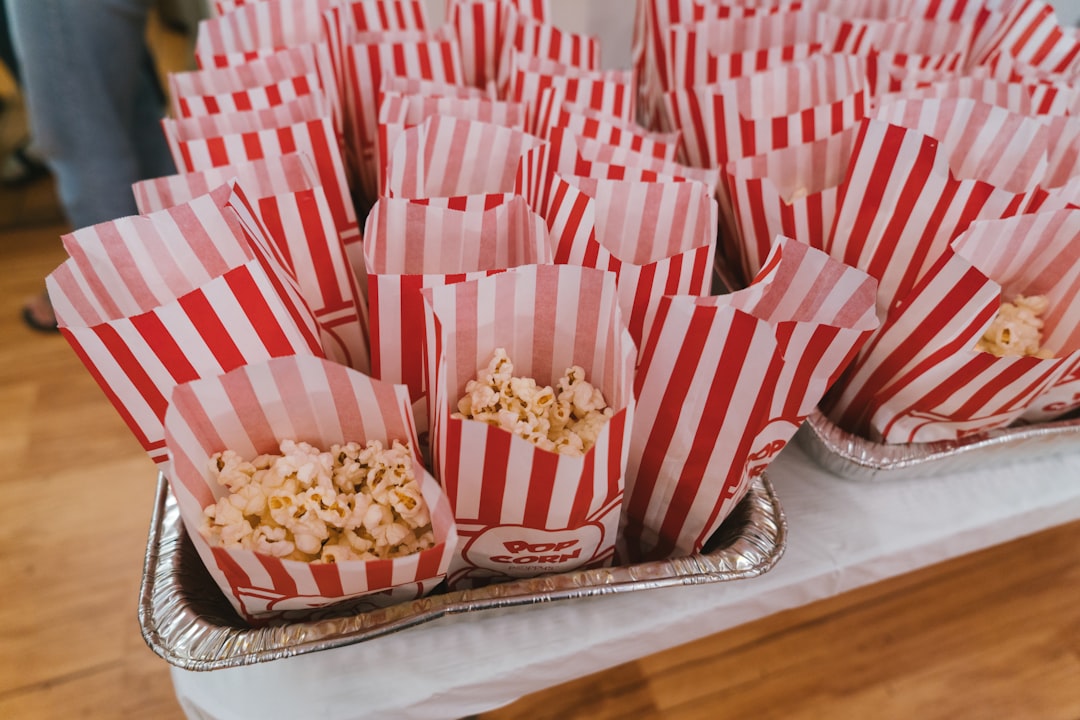
- Popcorn. Make a big batch. It’s not a movie night without it.
- String lights around the yard for ambiance before the movie starts
- Bug spray or citronella candles (you will need this)
- Start at dusk. The projector looks best when it’s fully dark, but starting the movie as the light fades adds to the atmosphere.
Tips for a Better Picture
- Position the projector 10 to 15 feet from the screen for a roughly 100-inch image. Check your projector’s manual for the ideal throw distance.
- Angle matters. The projector should be centered on the screen at roughly the same height. A small table or crate works better than the ground.
- Block ambient light. Turn off porch lights, ask neighbors nicely, and position the screen away from street lights.
When to Go to the Real Thing
A backyard setup is great for casual nights, but it’s no substitute for a real drive-in theater. If you’ve never been, find one near you in our complete directory. There are about 300 still operating across 46 states. Nothing beats a 60-foot screen, a double feature, and a car full of snacks under the open sky.